| DIYer: | jonnyd55 |
|---|---|
| 制作时间: | 4天 |
| 制作难度: | ★★★★★ |
| GEEK指数: | ★★★☆☆ |
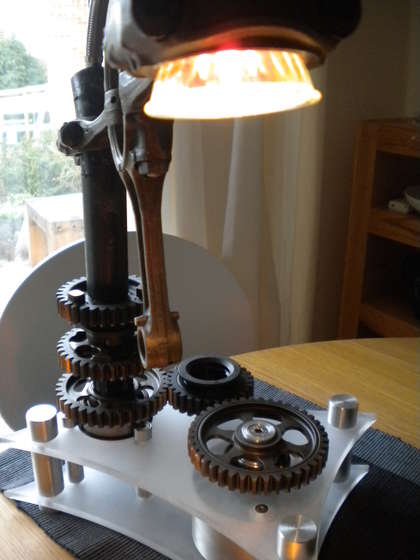
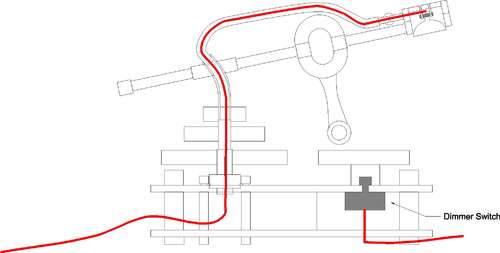
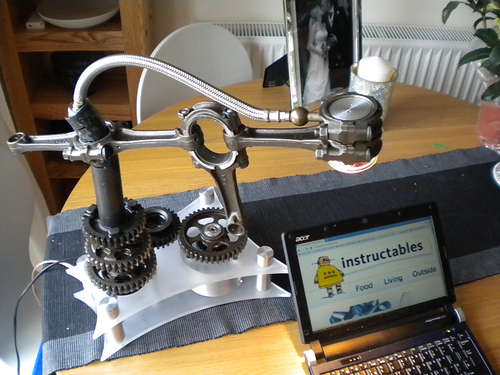
双向电梯

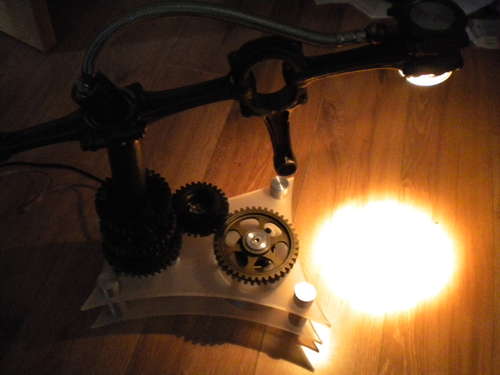

看下面这个视频,然后可以了解如何靠齿轮的移动来调节亮度和开启/关闭灯光。
这个制作花了我四天时间。大多数部件是回收再利用的,比如齿轮,轴承和压克力板,用这些材料既降低成本也更能启发创造性的想法。
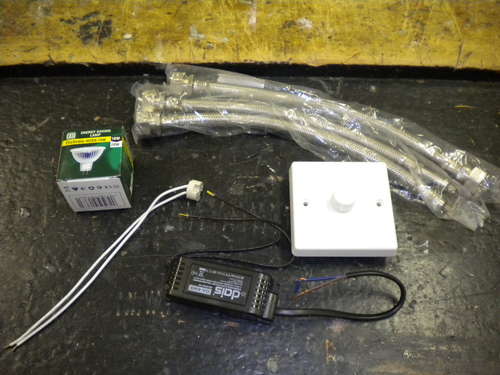
我买了下面这些东西:
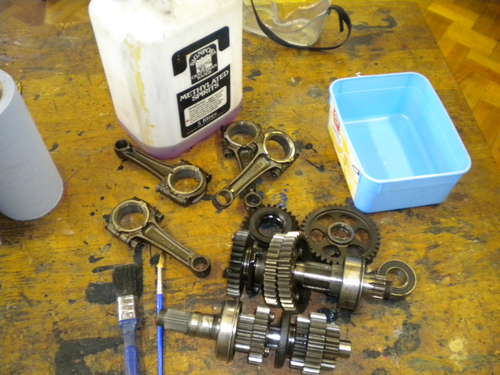
获得的免费材料:
更多有趣的部件有助于达成更好的结果。看看垃圾场,清仓减价,旧货甩卖之类,或者自行注意下车库的小角落……你会为自己找到的好东西惊讶的。把东西留下,总一天它们能派上用场。
注意这个项目里的图纸尺寸和标注都是基于我用的FJ1200齿轮箱,如果你用了别的零件,需要根据自己的情况修改设计。
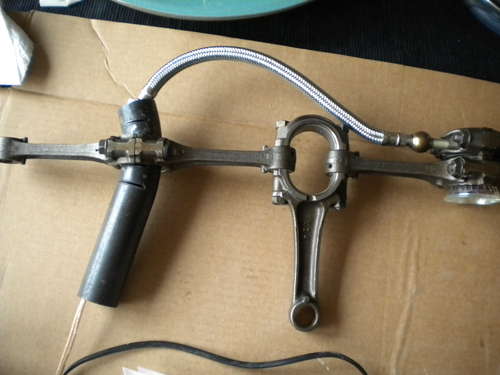
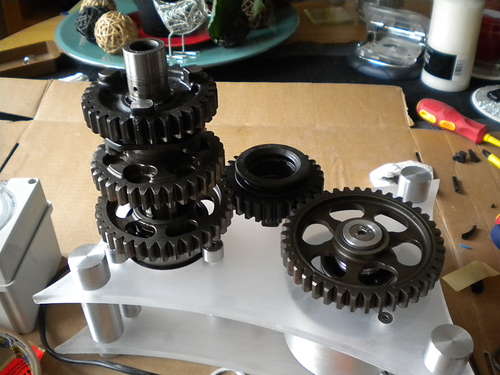
1 重要的零件
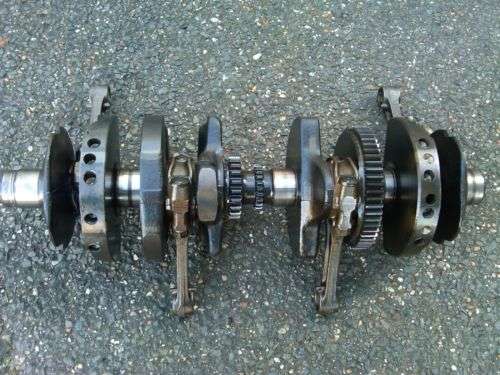

你需要下面这些零件:
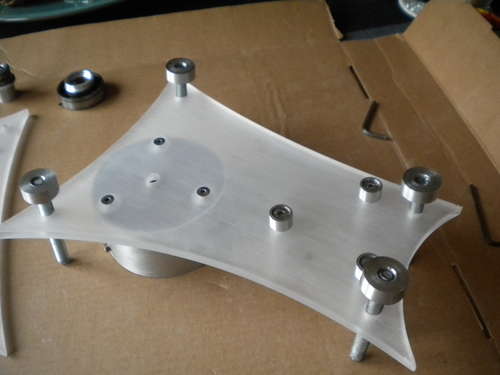
基座用另外一些材料制作。
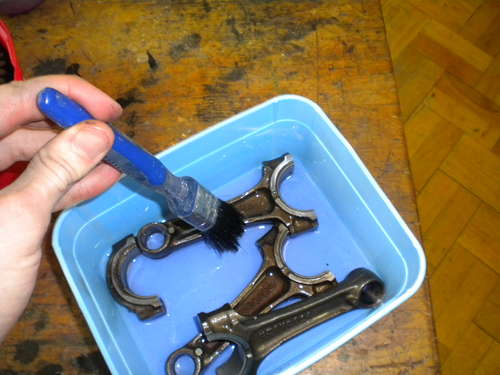
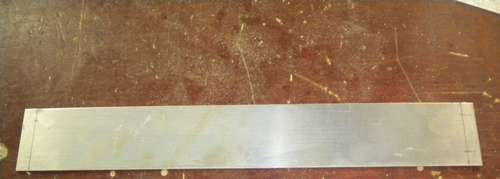
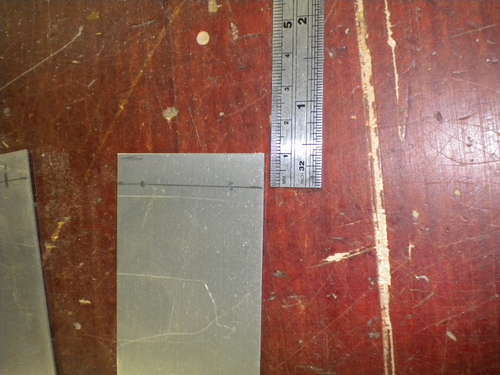
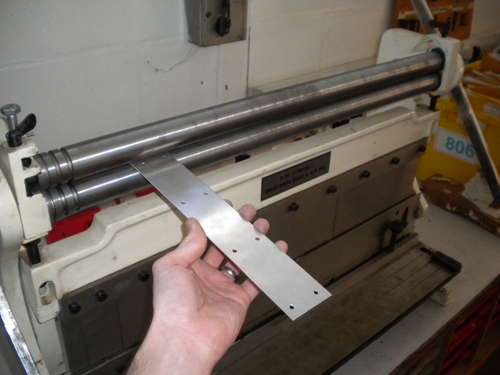

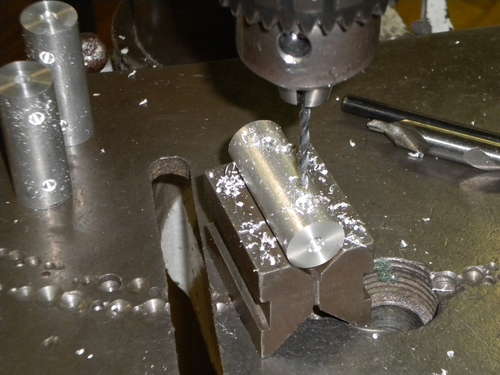
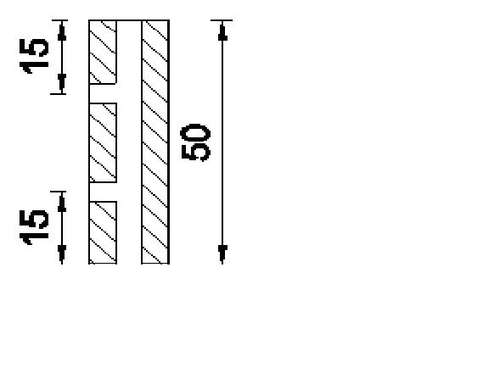
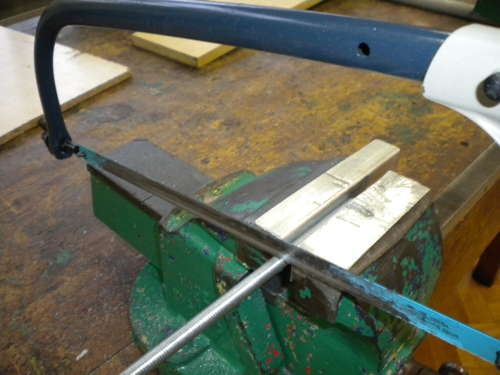
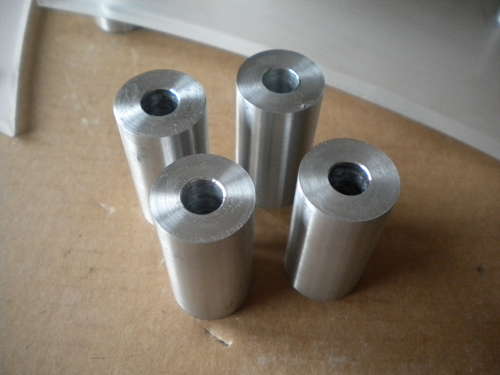
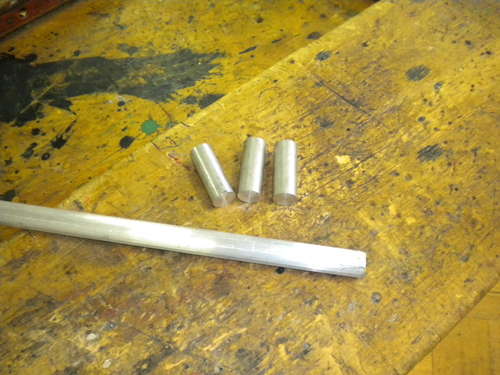
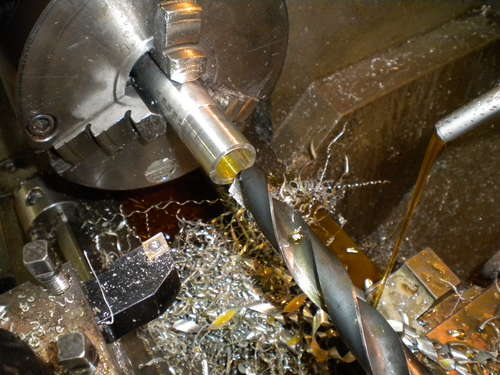
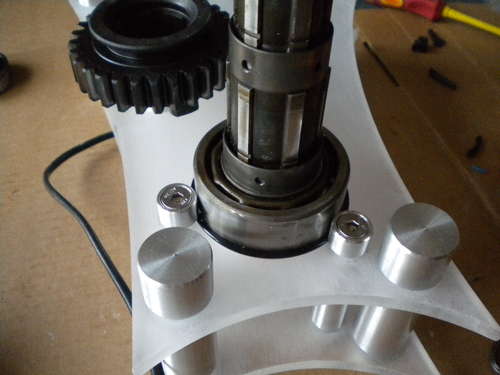
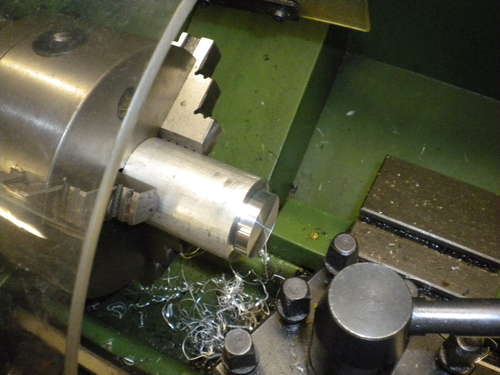
5 铝制圆筒-加工铝棒

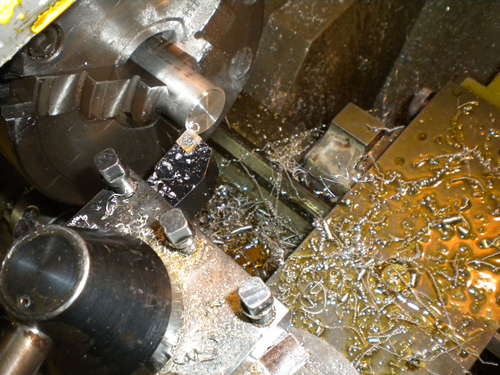
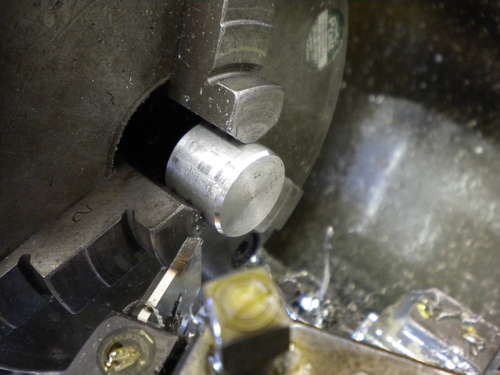
切下三段直径15mm,长52mm的铝棒。

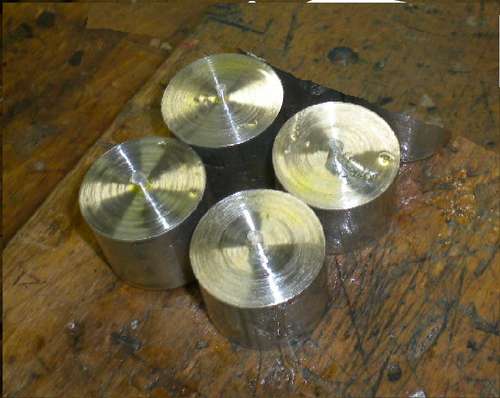
打磨一个断面,然后打磨另一面直到铝棒的长度刚好为50mm长(这个长度和你刚才切下铝条的宽度一样)。


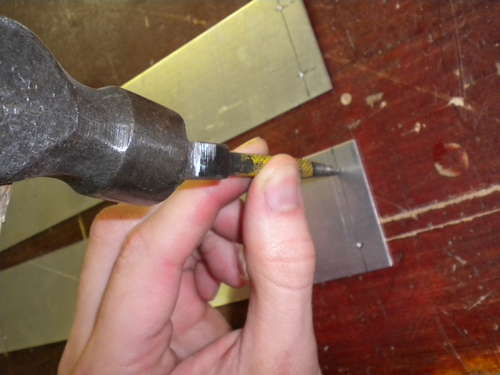
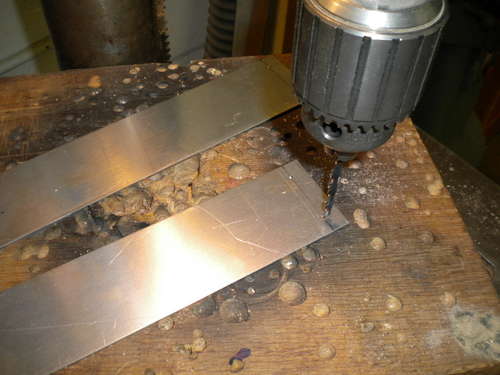
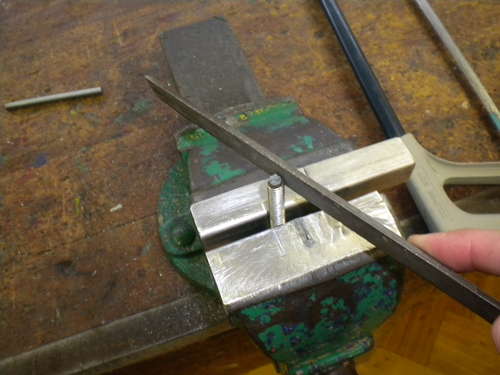
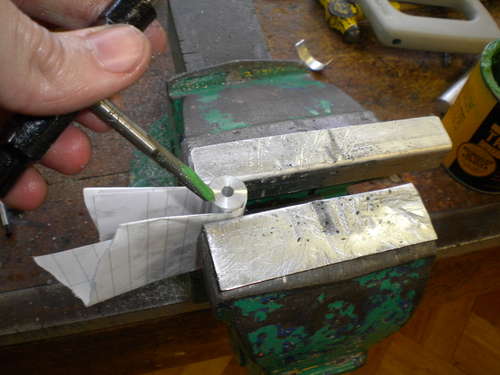
在6个端面的中心钻孔。
每个孔的尺寸为直径4.2mm,30mm深,这么钻完之后两个孔会在中间连通。
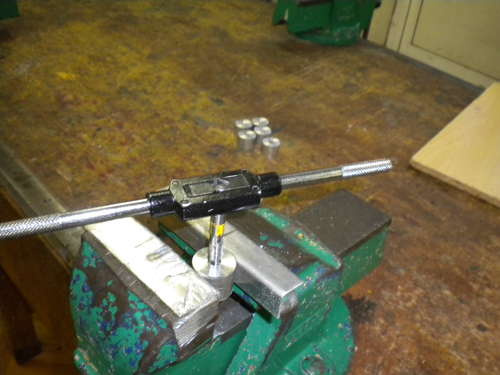
在每个孔攻上M5的螺纹。

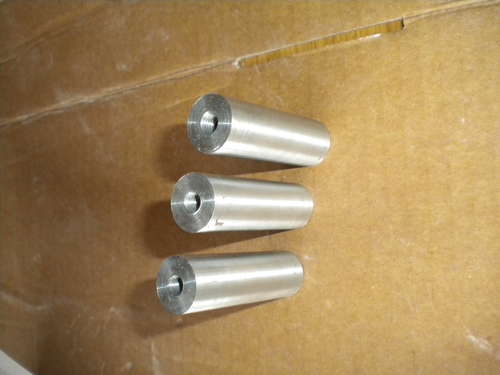
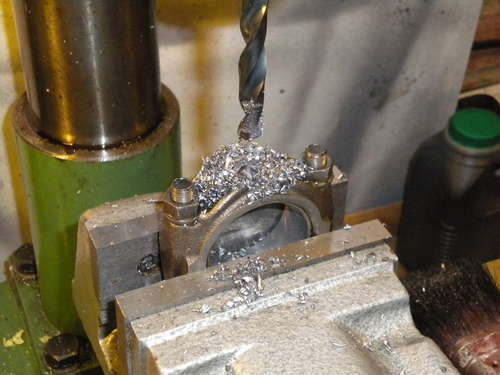
8 角连接件-底座


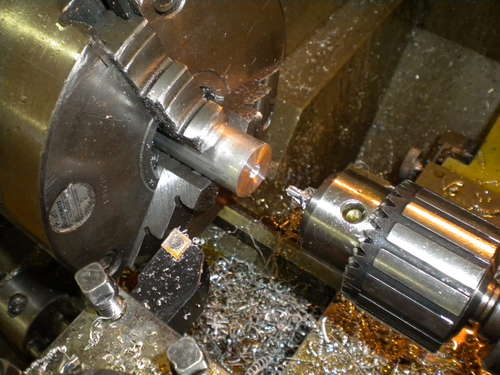
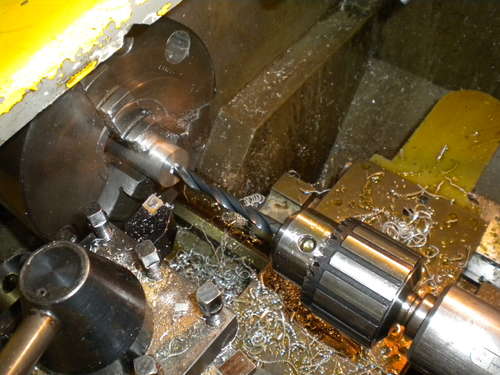
在机床上在直径25mm的铝块中间钻个孔。
孔的直径8.5mm,40mm深。
在10mm处切断铝块。
重复钻孔和扩孔直到做好四个接头。
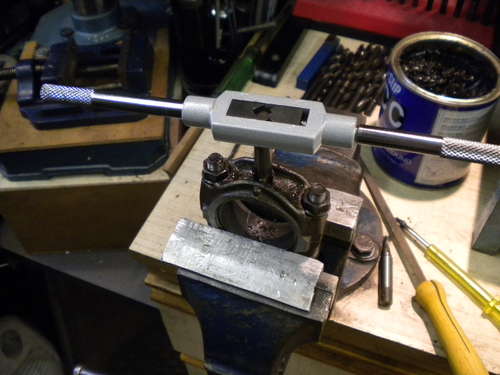
在孔上攻出M10螺纹。
去掉孔上的毛刺。
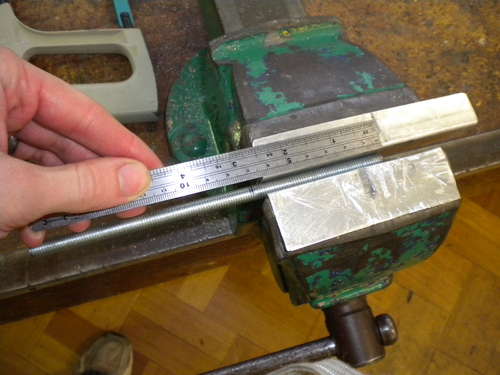
切下90mm长的M10螺纹杆。
打磨粗糙的边缘。
组装起来。


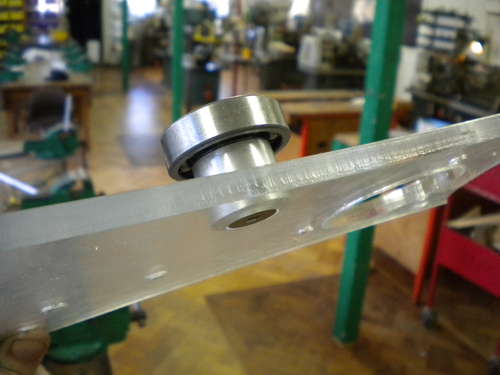
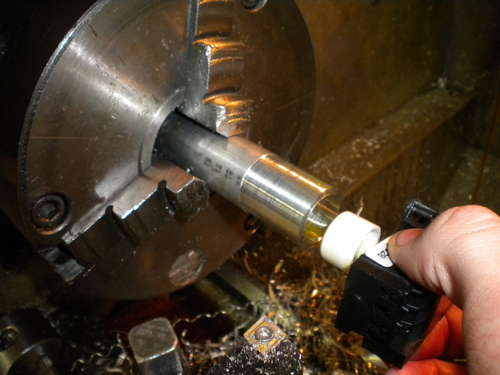
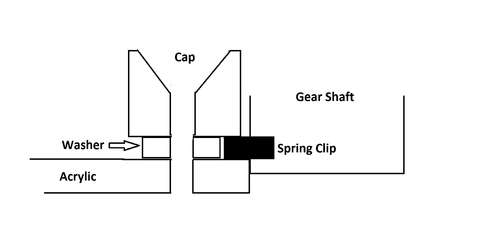
11 齿轮轴夹-底座和顶帽
使用直径12mm的铝棒。
打磨端面。
在中心钻孔。

钻直径6mm ,20mm深的洞。
加工出容纳M6埋头螺丝的凹陷。
边缘倒角45度。
在10毫米处切断。
做6个零件(3个底座和3个顶帽)。
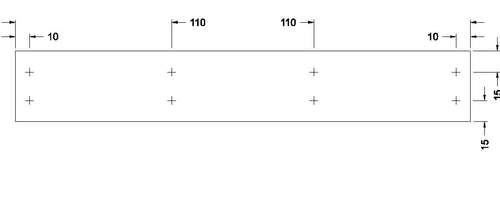
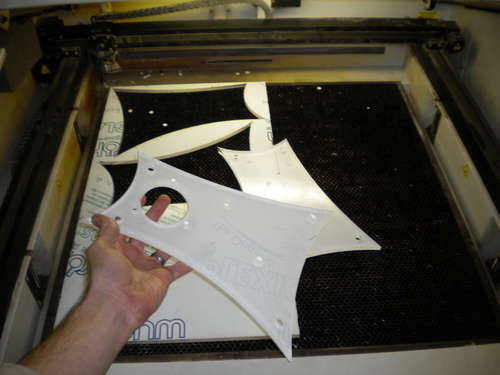
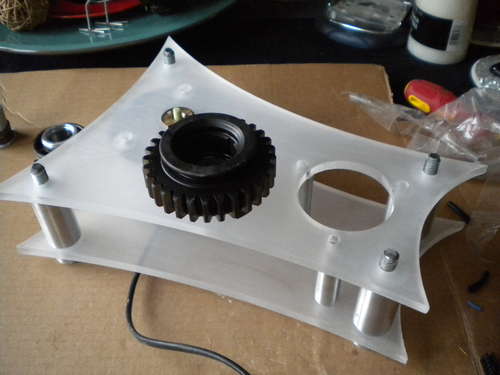
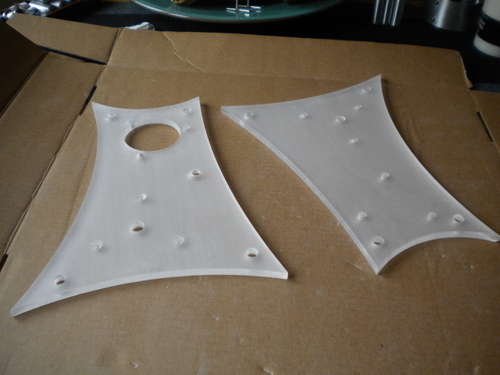
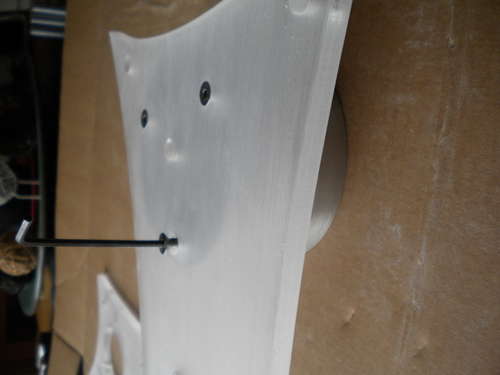
13 基座-模板
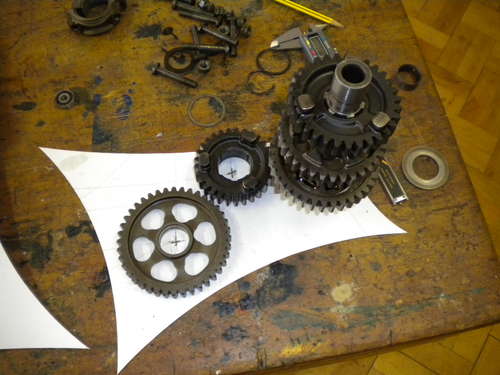
首先你要做一个模板来评估基座的大小,特别是布置各个齿轮的位置。
可以在CAD中建模帮助设计。
我用激光切割9mm厚的压克力板做基座。下面有一些替代方案:
3mm的压克力板:也许需要重叠两层来加强外观质感,手工或者激光切割都可以。
硬木板或者胶合板:可以用数控机床或者手工加工。
铝/钢/铜板:非常酷,但是手工加工困难,或许可以考虑水刀。
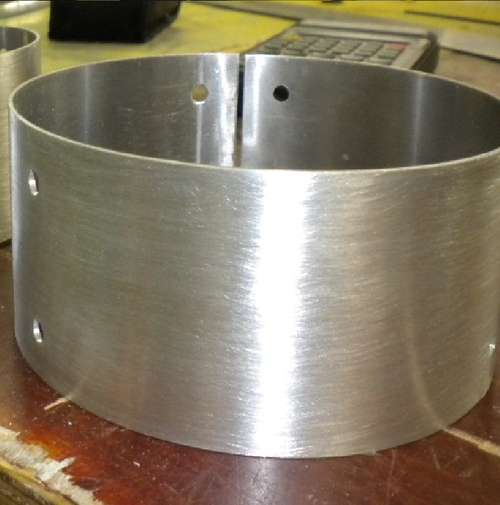
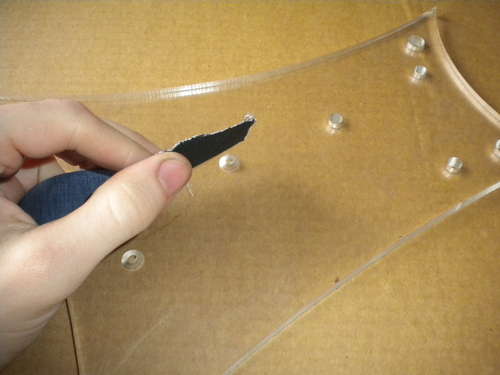
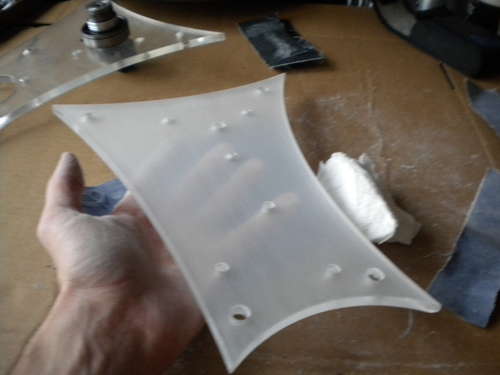
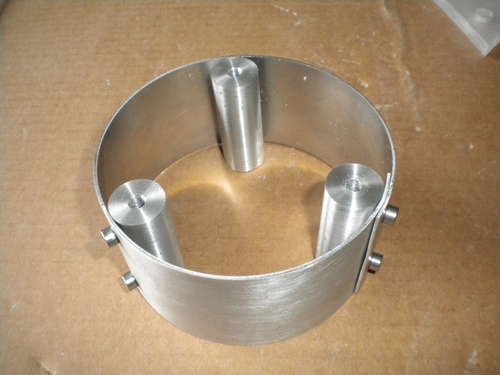
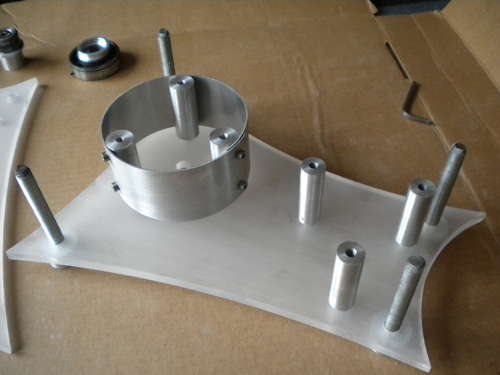
14 基座-钻孔
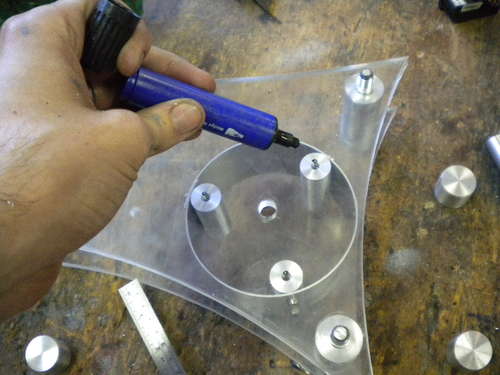
安放铝制圆筒使它围住调光开关的安装孔。
标记下需要钻孔的位置。
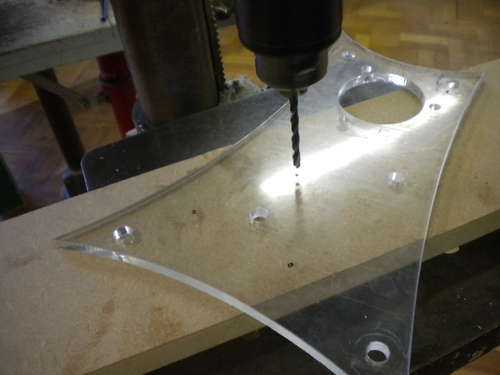
在这些地方钻5mm的孔。

孔上加工出容纳M5埋头螺丝的凹陷。
在三个孔上旋入螺栓,然后在另一面标记孔的位置,钻孔穿通。在另一块板上同样加工使基座的上下两个面板都能够安装在铝制圆筒上。
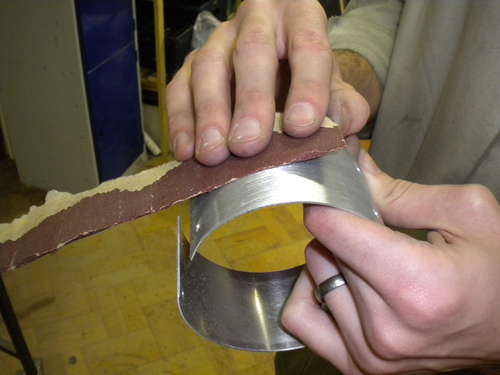
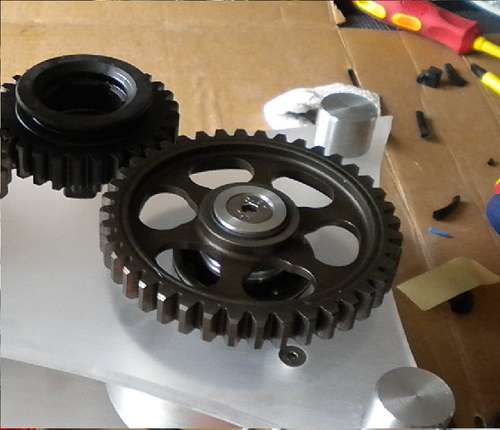
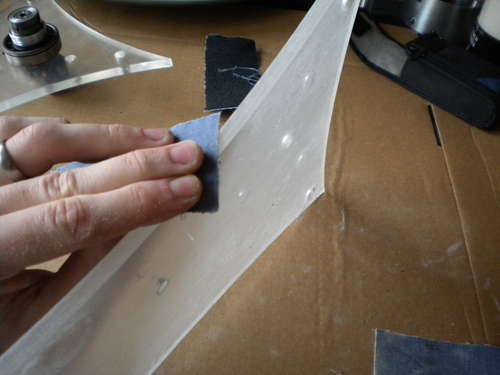
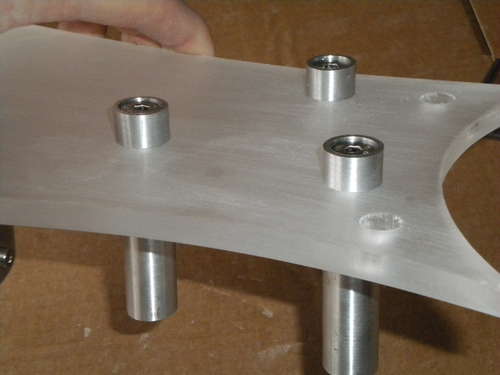
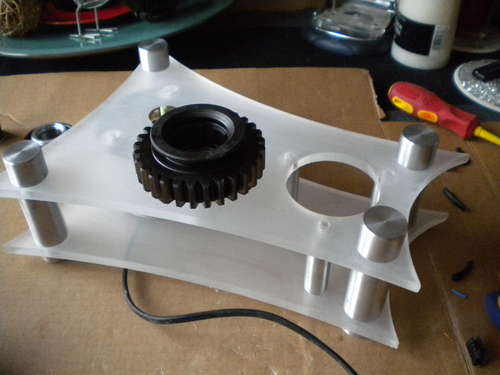
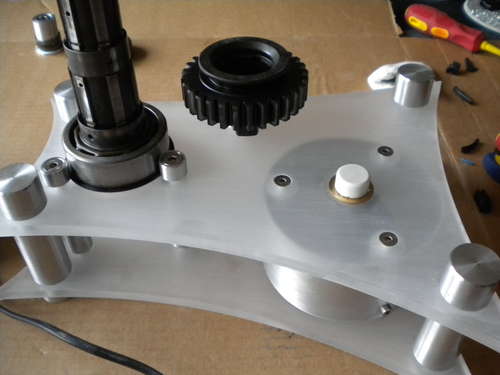
15 修整齿轮
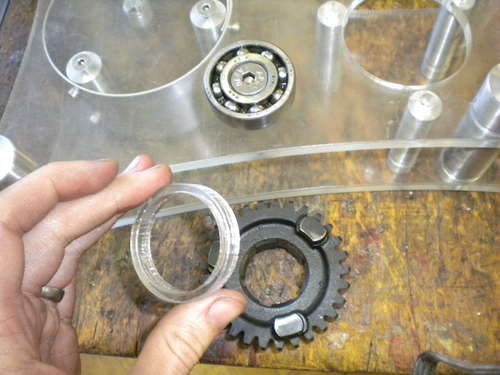
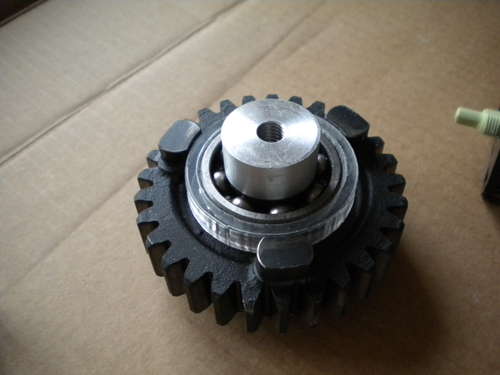
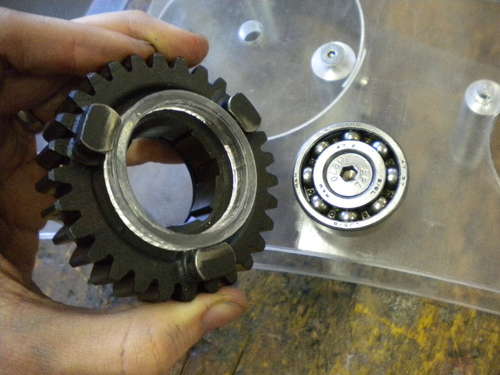
这是将要用在调光器齿轮和主轴尺寸中间的齿轮。
轴承小了点装不上齿轮,所以我用激光切割了一个环形隔环将它们装配到一起。
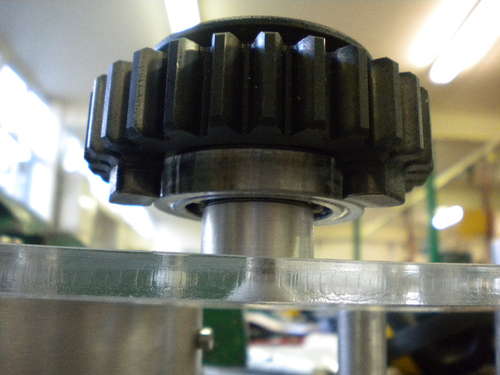
所有齿轮用直径25mm的铝材连接到基座,铝材上钻孔并安装M6埋头螺栓。
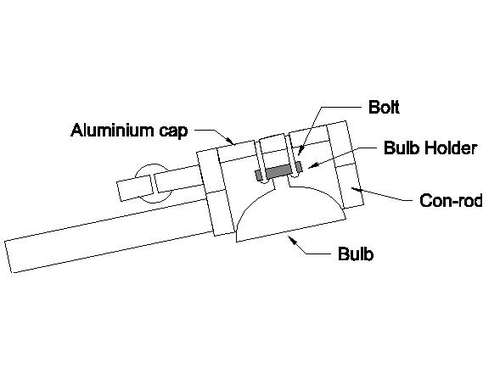
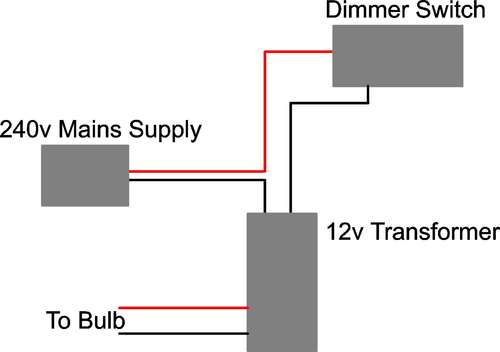
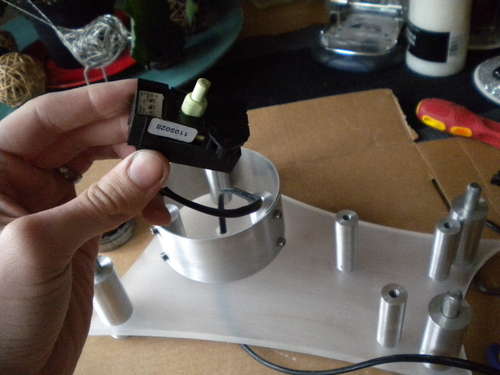
16 调光器齿轮

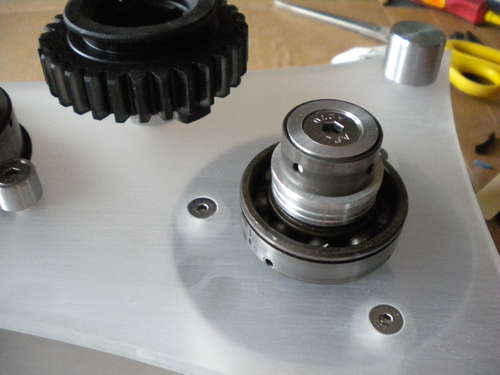
调光开关来自五金店,还有白色表盘和白色方形面板。
精确测量表盘的直径并在直径25mm的铝材上钻适当大小的洞。
这个洞需要过盈配合。
组装杆,轴承和齿轮,检查转动良好。稍后会进行布线。

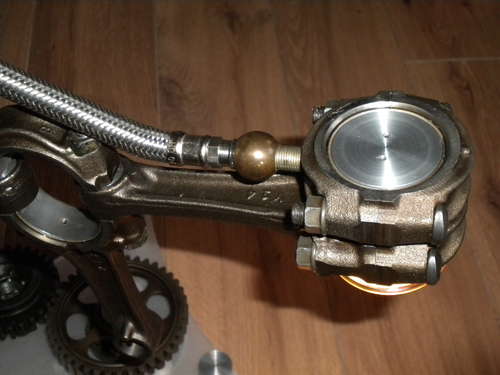
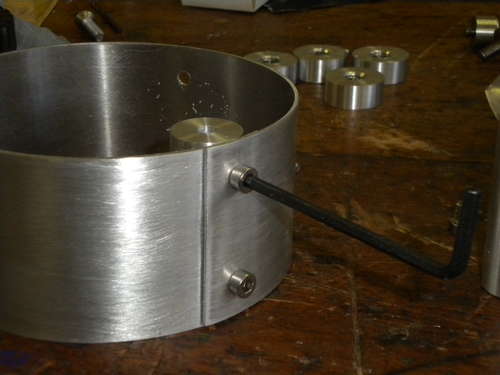
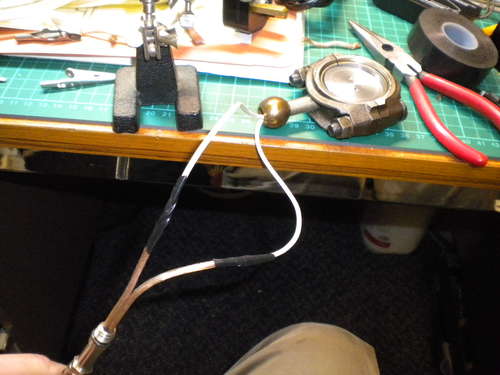
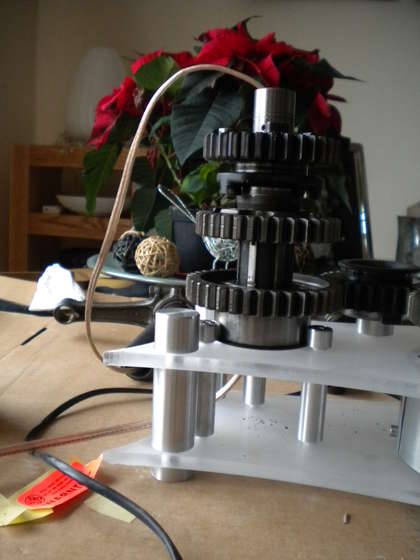
18 灯臂轴
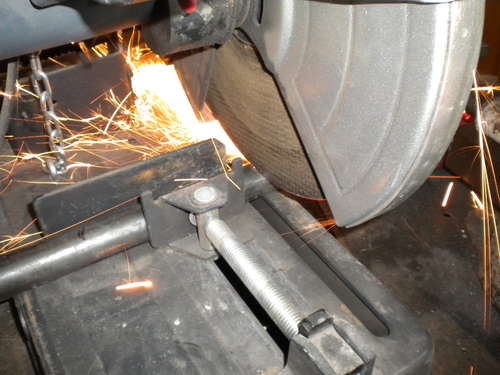
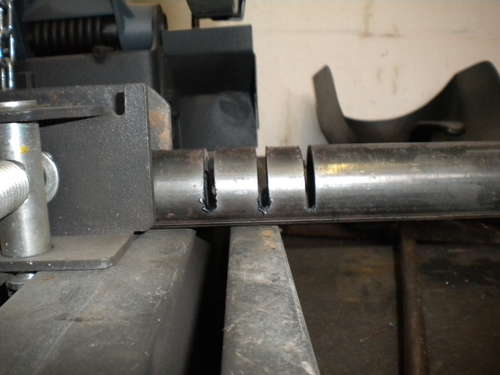
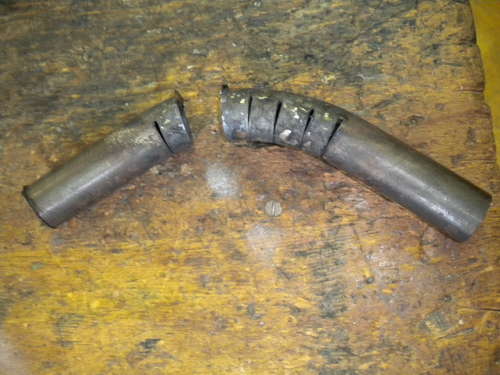
我找了一些钢管安装在顶部的齿轮轴上。我想把它弯成曲线但没有一个弯管机,所以我用了热处理的方法。
将钢管切割到需要的长度。
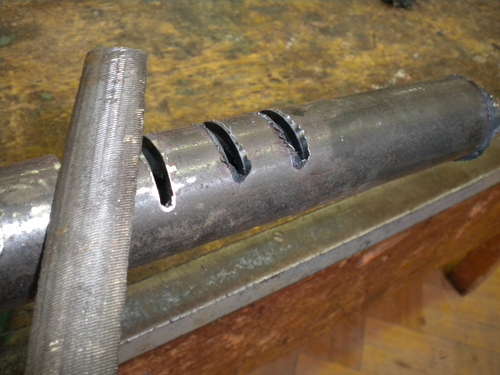
在需要弯曲的位置切出一系列10mm间隔的切口,几乎切穿钢管。
打磨尖锐的边缘。
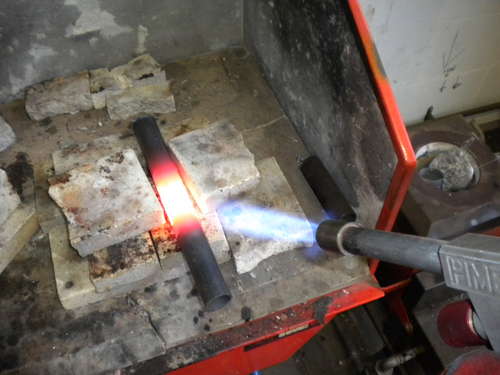
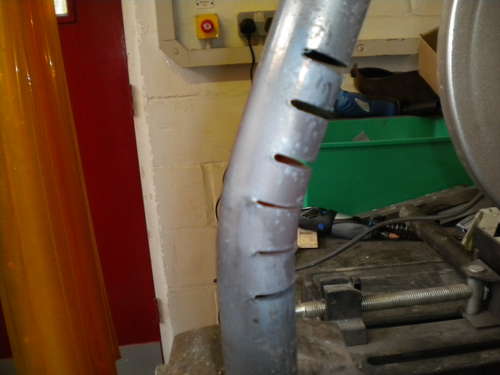
将钢管加热到红热,然后迅速用锤子趁热从切口背后砸弯。
可能需要重复几次。


23 DIYer签到处
| 编辑: | 秦皇汉武 |
|---|
TodeDIY站QQ群:132647923, 2群:179240860(加入时请报上你在Tode的个人主页地址,以防广告ID)
TodeDIY站微博: http://t.sina.com.cn/guokrdiy